Hi.. Friends..
Its been a long time i posted here. I have 2 cards for you today. I wanted to make a shaker card from past few days. So i have one shaker card.
Card #1
* The panel I used for both cards is same.
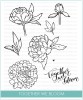
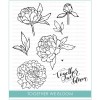
* I gold heat embossed the floral bloom image on a white CS and applied distress inks.
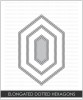
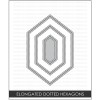
* I die cut the panel with stitched scallop rectangle dies (used both on same panel).
* Glued frames together and used doubled foam tape to create my shaker well.
* Heat embossed sentiment from Birdie stamp set.
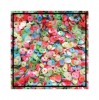
* Used different coloured sequins and secured the frame on card base.
Here is the card
Closer look at sentiment and sparkling sequins
I am entering this card to
Addicted to CAS
Addicted to stamps and more
Card #2
This was very easy to put together as most elements were ready.
* I used remainders of frame for this card.
* I glued both pieces on an acetate.
* Heat embossed image and sentiment from magical fairies on vellum.
* Glued the vellum on the panel and the whole panel was mounted on card base with foam tape.
** Only reason to use acetate was to avoid cutting thin strips of foam tape.
Here is my card
Here is the closer look at the panel and sentiment.
I am entering this card to
Stamplorations - CAS card challenge
SSS - wednesday challenge - Anything goes
Supplies
Peek-a-boo floral bloom
Peek-a-boo Magical fairies
Peek-a-boo birdie
Peek-a-boo stitched scallop rectangle die
Distress inks
Gold embossing powder
White embossing powder
Hope you liked them..
See you soon..
Suggestions are always appreciated..